Your kitchen scraps and yard waste provide free fertilizer, just waiting to be made. Here's how.
10 minutes
Beginner
$150 - $300
Introduction
Composting comes with a lot of benefits. Obviously you get free fertilizer. But it's also a great way to get kids and adults interested in nature. Plus, it keeps food scraps out of the landfill, which reduces climate-changing greenhouse gasses.
It doesn't take that much effort or time commitment, and you can even do it inside in an apartment. But it does take a little planning to set yourself up for success, including choosing a good location in your yard and the right compost bin.
For that, you can DIY one out of materials like wood, cinder blocks or chicken wire. Or you can purchase one for outside or inside. There are electric models, and you can also compost with worms. Whichever you choose, consider having two, so one can be composting while the other is filling up.
I've created compost bins in a lot of environments. In places where it's warm and rainy, like Florida, composting is a quicker process. In the desert West, it takes more effort because the pile must be kept moist.
Here in Colorado, it takes longer, because cold whether inhibits the process. It's also tricker here because of bears. To keep them out of trouble, we've been sending our more enticing and fragrant food scraps to the community compost, instead of putting them in our home pile.
Wherever you live, here are a few easy steps to making your own compost at home.
Tools Required
- Compost bin
- Hose or sprinkler
- Shovel or pitchfork
Materials Required
- Brown waste such as dead leaves and newspaper
- Green waste such as food scraps and grass clippings
Project step-by-step (4)
Gather your waste
Most people who diligently compost keep a small bin on their kitchen counter to collect food scraps, then transfer them daily to the outside bin. Outside, try to layer brown and green compost, with about a 50-50 ratio. If you live in a wetter climate, you can get away with more brown ingredients.
Here’s a more comprehensive list of what to compost, but in general:
- Green compost includes materials high in nitrogen, like coffee grounds, fruits and vegetables, food leftovers, eggshells, grass clippings, weeds and manure from barnyard animals.
- Brown compost includes materials high in carbon, like straw, dead leaves, sawdust (use untreated wood only), small branches, cardboard and newspaper.
Pro tip: While it’s technically OK to put in more durable items like branches, eggshells and avocado pits, they take a long time to break down, slowing the process. Also, shred newspaper and cardboard first so they don’t block oxygen from the pile. Remember, the smaller the pieces, the faster you’ll get a nice, even compost.
Items to avoid include:
- Meat, dairy, greasy foods and dog and cat feces, which can introduce harmful bacteria and create unpleasant odors;
- Chemically treated wood;
- Invasive weeds, diseased or pest-infested plants and anything treated with pesticides;
- Charcoal ash, because its acidity kills helpful bacteria.

Water your compost pile periodically
A moist compost pile ensures the microorganisms are breaking down the ingredients can thrive. Too much and the pile will rot. Too little and it won’t turn into compost.
Check the pile once a week and add enough water to keep it the consistency of a damp sponge — moist, but not dripping wet. If you live in a place that gets lots of rain, you might have to cover your pile or make drain holes near the bottom.
Pro tip: You’ll know you have your green-brown mixture and moisture correct when your pile becomes warm in the middle. If it’s wet or smells bad, add more brown items. If it’s too brown and dry, add green items and water.

Turn your compost pile periodically
Throughout the growing season, use a shovel or pitchfork to aerate and mix the pile once every week or three. This helps it compost faster and keeps it from smelling. If you have a bin with a crank, give it a few turns weekly. You can build this one yourself.
Pro tip: To see if your pile’s internal conditions are ideal, use a compost thermometer. Optimally, it should be between 130 and 150 degrees.

Harvest the magic
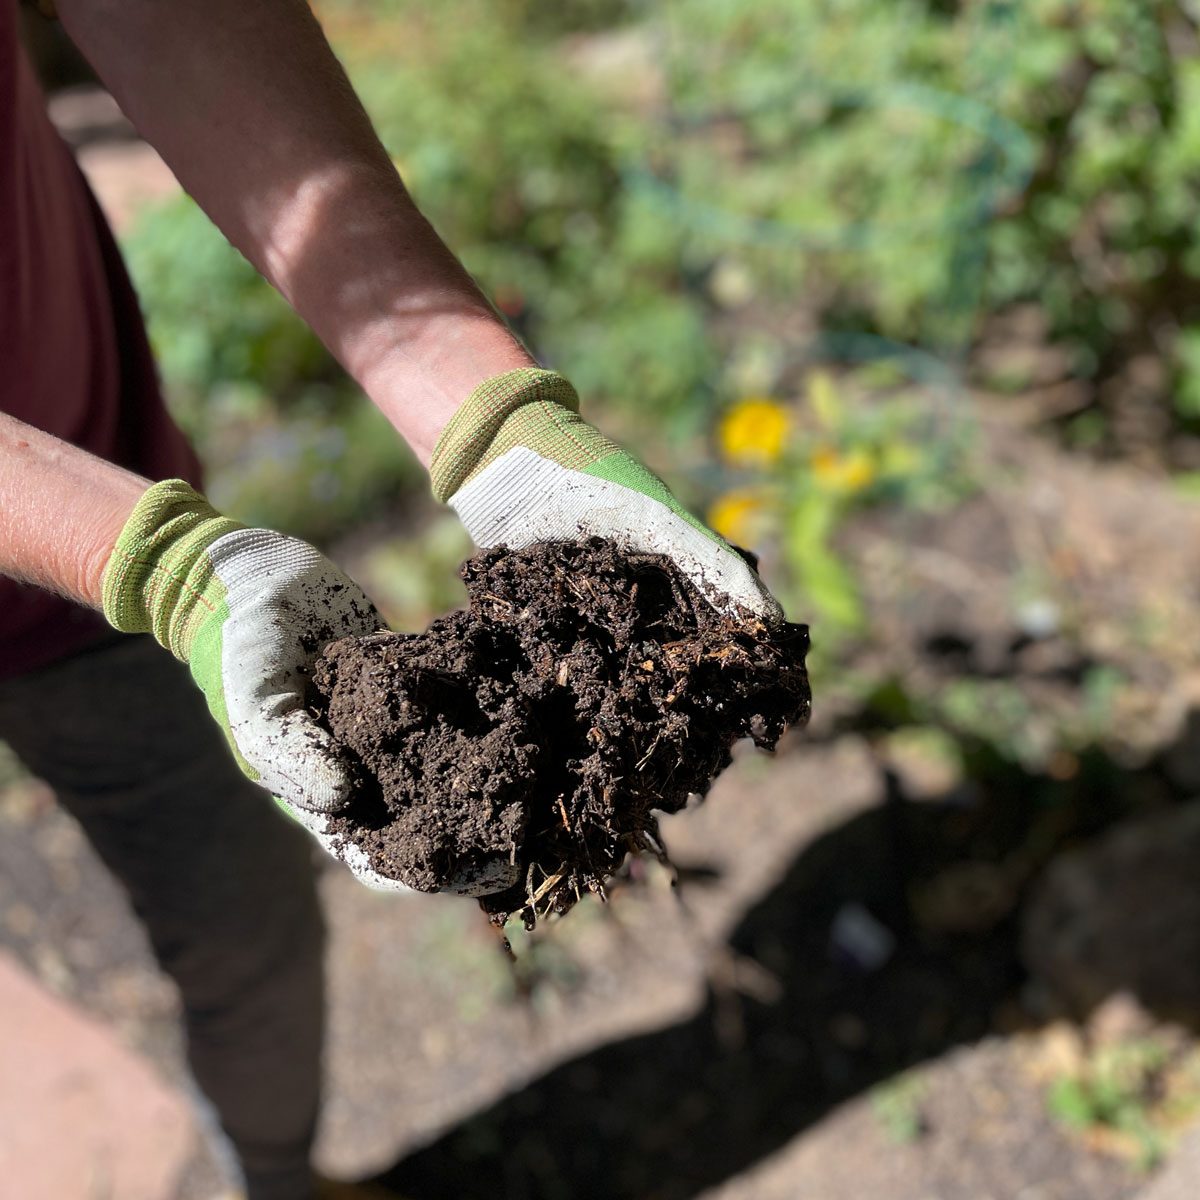
You should have compost in a month or two. You’ll know it’s ready when it cools down and looks like soil. Congrats on your success! Now go add it to your garden beds, potted plants, trees and shrubs.
You can also make liquid fertilizer from it, called compost tea. Just steep your compost in water for a few days, then strain it.


