Let's hope you never need this information. But if you do, these tools, materials and procedures can help you safely clean and sanitize small amounts of blood.
30 minutes to 3 hours
Intermediate
Around $75
Introduction
According to the U.S. Department of Health, in 2017 there were almost two million emergency department (ED) visits due to unintentional/accidental cuts, piercings or nose bleeds that resulted in hospital admissions. That's about one in every five trips.
Throughout my career as an automotive technician, instructor, school administrator and avid DIYer, I've had or encountered too many stitch-worthy wounds that left a trail or puddle of blood.
Unfortunately, blood and other bodily fluids (vomit and urine) carry harmful biological pathogens, making them some of the most hazardous and nasty substances to clean up. Disinfecting wipes only work for cleaning a drop or two of blood from a minor nick or cut.
Blood spills larger than nine inches in diameter (about the size of a dinner plate) must be thoroughly cleaned and sanitized, and the fluids and materials used to clean it must be disposed of properly. Cleaning large blood spills on hard, non-porous surfaces differs from the treatment of carpet and other soft surfaces.
Following U.S. Department of Labor, Occupational Safety and Health Administration (OSHA) health standards, employers are required to provide information and training to staff "to prevent contact with blood or other potentially infectious materials." If you receive this type of training, it will help you remediate a large blood spill, no matter where you encounter it.
You can buy a pre-packaged blood spill kit for less than $50. But beware: These are for small spill clean-ups, and they lack the supplies to fully clean and disinfect a larger spill. You probably have most of the tools and materials you'll need in your garage or workshop already.
Doing this cleanup yourself can easily save you hundreds of dollars, because the mess will dry and worsen while you wait for the pros.
Tools Required
- 3-in. paint scraper
- Clean 5-gallon bucket to store your materials/supplies
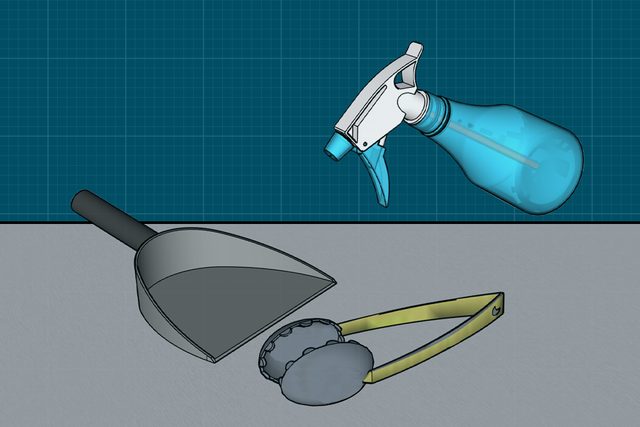
- Dustpan
- Kitchen tongs
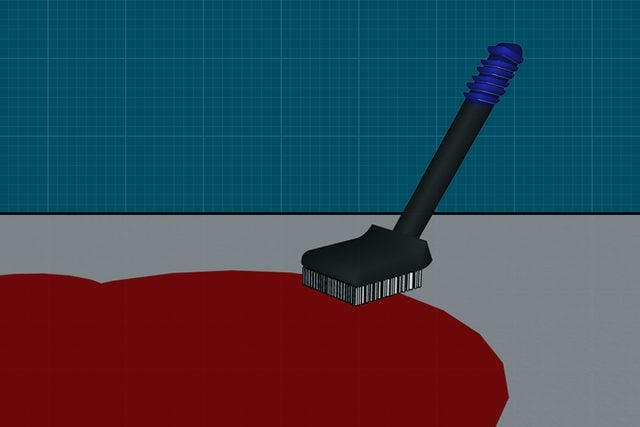
- Stiff synthetic bristle brush
- Wet-dry vacuum
Materials Required
- Antibacterial or disinfectant soap
- Biohazard stickers or red Sharpie marker and duct tape (if using black trash bags)
- Clean or dry or white cloth towels (or puppy pads) and a roll of paper towels
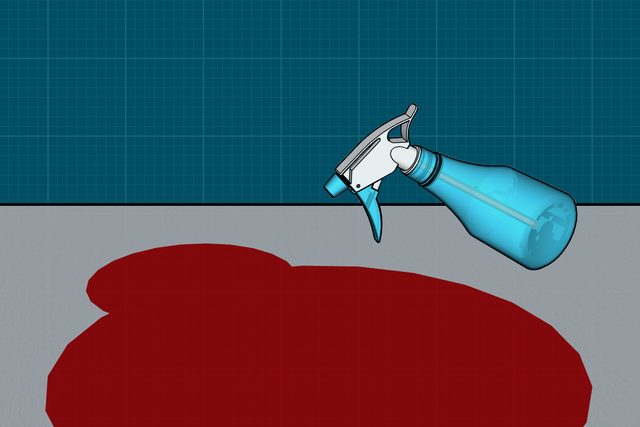
- Clean spray bottle
- Disinfectant wipes
- Disposable gloves
- Disposable hard-plastic container with cover
- Disposable shoe covers
- Disposable smock/gown
- Distilled vinegar
- Duct tape or zip ties
- EPA-registered broad-spectrum disinfectant
- Face shield or mask and safety glasses
- Hydrogen peroxide (may discolor carpets - test in an inconspicuous area before using)
- Red biohazard bags or black or thick or leakproof or disposable plastic trash bags
- Saw dust or kitty litter
Project step-by-step (10)
Step 1
Manage the spill
- Inform others of the situation if necessary.
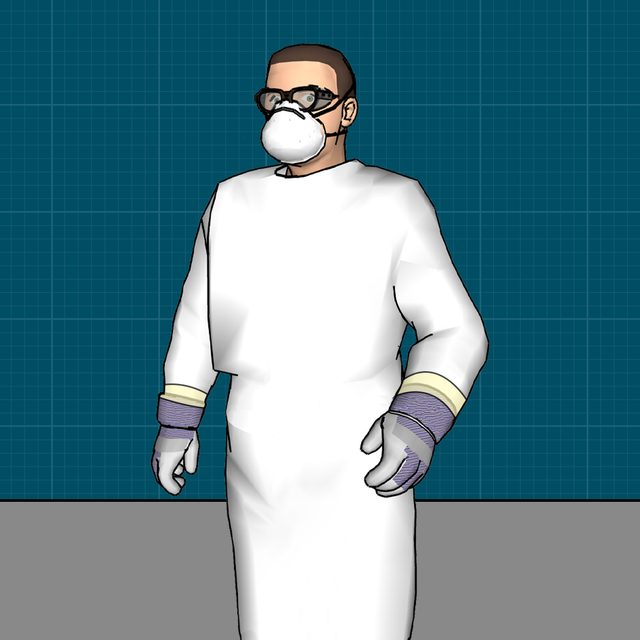
- Put on personal protective equipment (PPE), including gloves, a smock, eye/face coverings and shoe covers.
- Overlap the smock with the gloves, then wrap duct tape around the top of the gloves, securing them to the smock to prevent your wrists/skin from exposure.
- Block off the area to keep others from tracking the spill to other locations.
Step 2
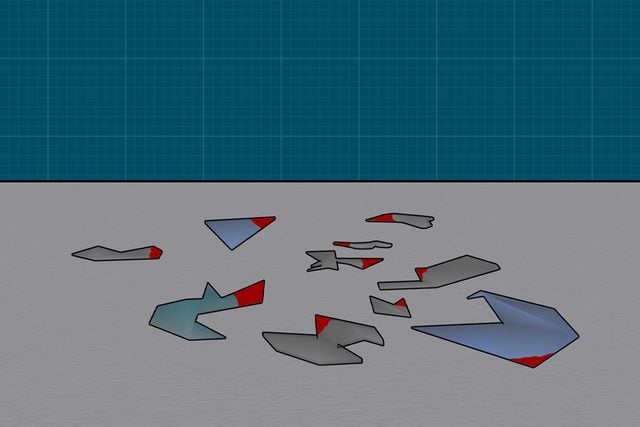
Pick up all sharp objects
- Pick up broken glass, knives, razor blades or any other sharp objects with kitchen tongs. Place the sharps into the disposable hard plastic container.
- Close the plastic container, seal the lid with duct tape and place in a plastic bag.
- Move bloody tools or reusable objects off to the side and place on a clean towel.
Step 3
Cleaning hard surfaces using disposable towels
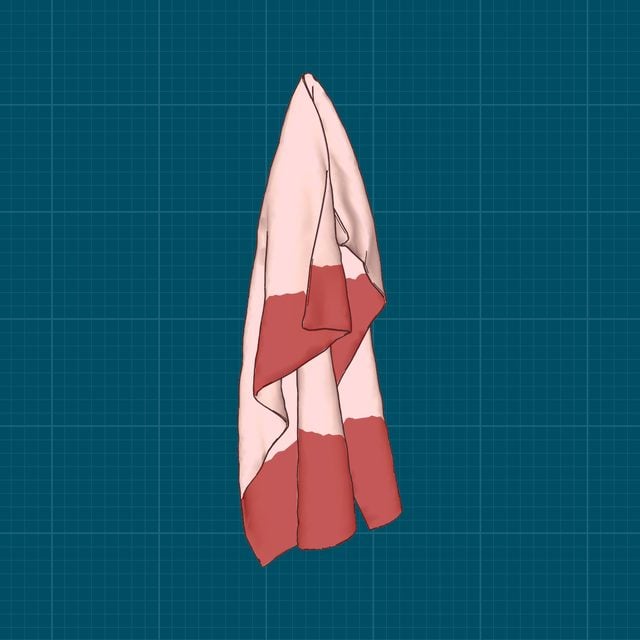
- Cover, then blot (never rub) the spill with clean towels, puppy pads or paper towels, soaking up as much of the spill as possible.
- Wiping the spill spreads the blood around, making the area larger and more difficult to sanitize.
- Continue adding towels, etc., to absorb as much of the spill as you can. This will prevent the blood from dripping and splattering when disposing in plastic bags.
- Pick up saturated towels with the tongs and carefully place them in the plastic bag with the sharps container.
- Continue blotting with clean towels until the spill has been removed.
- Working from the outside in, wipe the area one more time with clean towels to dry.
- Broad spectrum disinfectants are not as efficient if the surface is still covered in wet blood.
Step 4
Cleaning hard surfaces with kitty litter or sawdust
- Spread sawdust or kitty litter, starting around the perimeter of the spill and working toward the middle.
- Scrape, using the three-inch paint scraper, toward the middle of the spill when the sawdust or kitty litter starts to solidify.
- Collect the sawdust in the dustpan with the paint scraper and place into plastic bags.
- Adding more sawdust or kitty litter until the spill is fully absorbed prevents dripping when placing waste material into plastic bags.
- Working from the outside in, wipe the area one more time with clean towels once the blood has been removed.

Step 5
Cleaning and disinfecting soft surfaces, like carpet
- Follow the first four bullets in Step 3 above.
- Mix one cup vinegar with two cups warm water.
- Alternatives are full-strength hydrogen peroxide or disinfectant. But vinegar’s natural antimicrobial and antibacterial properties make it ideal for removing blood from and sanitizing carpets.
- Spray the vinegar mixture or alternative directly onto a towel and keep blotting the blood.
- Repeat until all blood is removed.
- Blot the area dry with clean towels to absorb as much of the moisture as possible.
- Use a wet-dry vacuum to fully dry the area, or try a hot water extraction machine like the Bissell SteamShot or the Bissell SpotBot to reduce bacteria.
Step 6
Disinfecting hard and soft surfaces
- Saturate the area for 10 minutes with a U.S. Environmental Protection Agency (EPA) certified broad spectrum disinfectant/antimicrobial that meets Design for the Environment standards under the EPA’s Safer Choice program.
- Scrub the area from the outside in with the stiff bristle brush, then let dry.
- Repeat.
- Spray the area with disinfectant, then wipe the area with a clean towel dampened with disinfectant. Let dry.
- Dispose of all towels in plastic bags.
Step 7
Decontaminate reusable tools
- Spray tools with the disinfectant and let them sit for 10 minutes.
- Scrub the tools and rinse with fresh water.
- Follow these steps to clean your vacuum and other cleaning tools.
- Replace vacuum filters. Do not clean or reuse.
Step 8
Material disposal
- Be sure you don’t contaminate any other surfaces during this process.
- Use disinfectant wipes on the outsides of all plastic bags.
- Check for and use disinfectant wipes to remove any blood on your PPE.
- Dispose of used wipes in plastic bags.
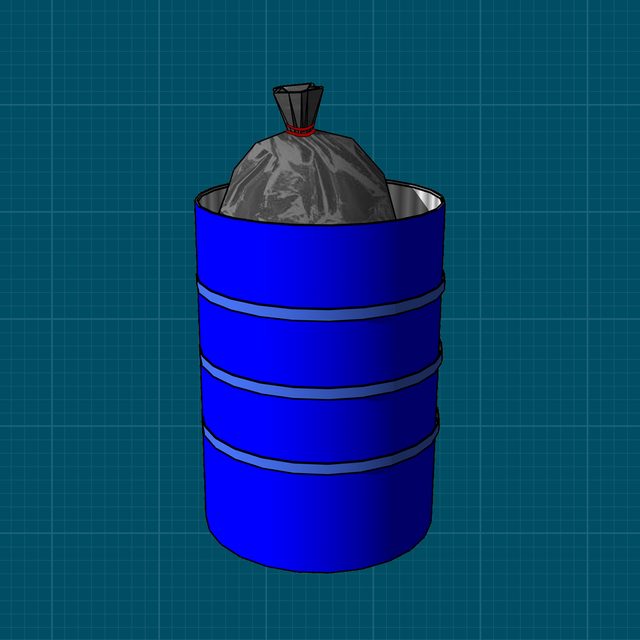
- Close the bag and seal with duct tape or zip ties.
- Place sealed bag with contaminated PPE inside a second, new, clean plastic bag and seal that.
- Affix a biohazard sticker on the bags, or add a piece of duct tape and write “Biohazard,” “Infectious” or “Health Hazard” on the tape with a Sharpie marker.

Step 9
PPE disposal
- Wash hands with the gloves still on in hot water with an antibacterial soap.
- With your gloves still on, carefully remove all PPE and place in a clean plastic bag.
- Close the bag and seal with duct tape or zip ties.
- Place sealed bag with contaminated PPE inside a second, new clean disposable bag.
- Wash your hands a second time (your gloves should still be on).
- Remove gloves following Centers for Disease Control and Prevention (CDC) guidelines and place in plastic bag.
- Close second bag and seal with duct tape or zip ties.
- Affix a biohazard sticker on the bags, or add a piece of duct tape and write “Biohazard,” “Infectious” or “Health Hazard” on the tape with a Sharpie marker.
- Wash face, arms and hands again, then shower thoroughly ASAP using an antibacterial soap. Rinse well.

Step 10
Final disposal
- Check with your local health department or waste management provider before discarding any biological, infectious or anything considered medical waste or hazardous materials with household trash.
- According to Deanna Miller, recycling coordinator in Bucks County, Pa. (where I live), as long as all materials are doubled bagged, sealed and will not come in contact with anyone else, they can be disposed of with household trash.
- A fact sheet from Oregon’s Department of Environmental Quality states personal protective equipment not “saturated” with blood or other bodily fluids may be “disposed of as trash.”
- Follow these tips to successfully launder lightly blood-stained clothes.